Getting Started with MenuMinute in 5 Minutes
A quick, step-by-step walkthrough to setting up your restaurant and publishing your first digital menu.
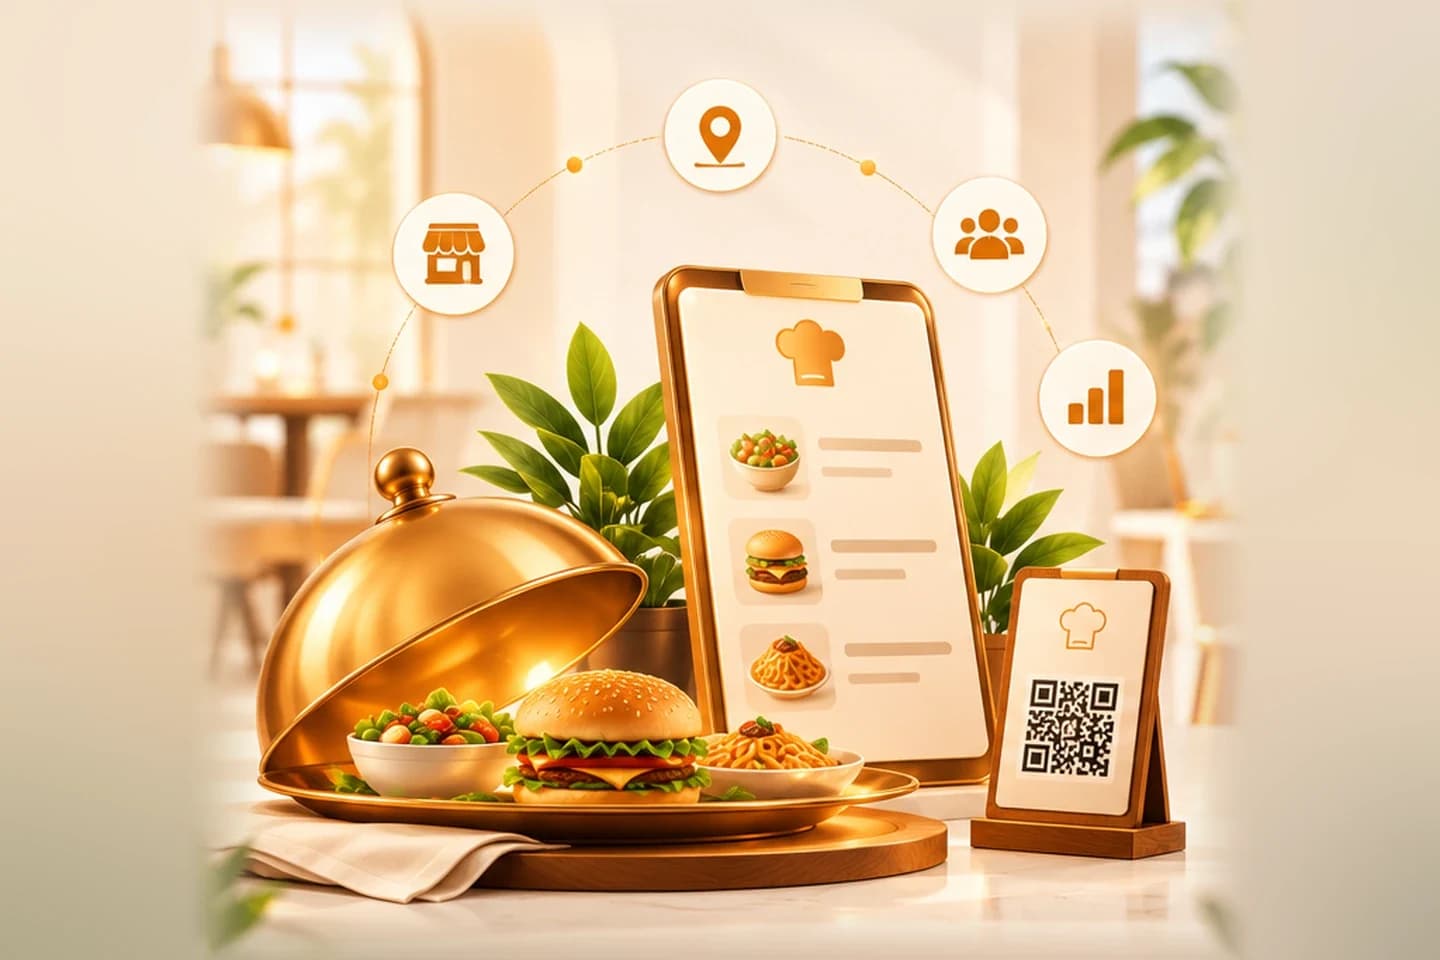
Quick Steps Summary
- 1Sign in to your restaurant workspace from any phone, tablet, or laptop.
- 2Enter your restaurant name, upload your brand logo, and select your local currency.
- 3Save your weekly opening and closing hours so diners know when you are open.
- 4Open Menu Studio to add your very first dishes and appetizers.
- 5Download and print your permanent tabletop QR stickers.
1. Create Your Restaurant Profile & Select Currency
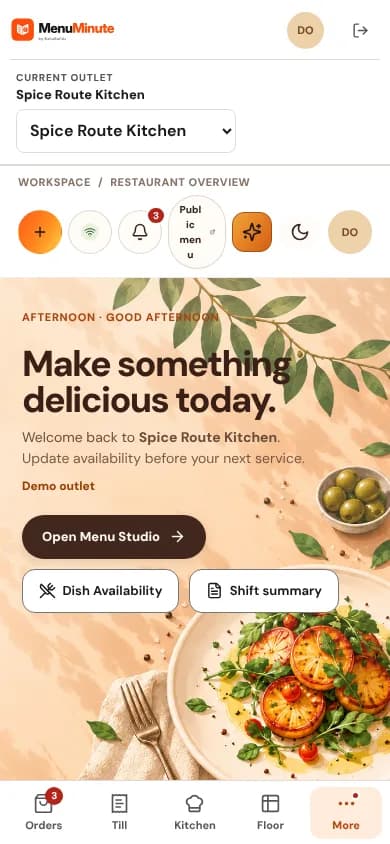
When you first log in, you will be invited to enter your restaurant name, location, and upload your brand logo. Your logo appears prominently at the top of every diner's phone screen when they scan your tables.
Choosing your currency: Select your local currency (such as INR, USD, EUR, GBP, AUD, or AED) during setup. MenuMinute handles all prices in your restaurant's native currency with clean, accurate decimal formatting.
Open Outlet Settings
Click on 'Settings' in your left sidebar or press Ctrl+K and choose 'Outlet Profile'.
Settings > Outlet ProfileUpload Your Restaurant Logo
Choose a crisp square or circular image of your logo. High-contrast logos look gorgeous on mobile screens.
Set Business Hours
Specify your opening and closing times for each day of the week so guests see your active service schedule.
First Impressions Matter
A bright, high-resolution logo helps diners immediately recognize your brand the moment they sit down and scan the table.
2. Your Workspace Tour
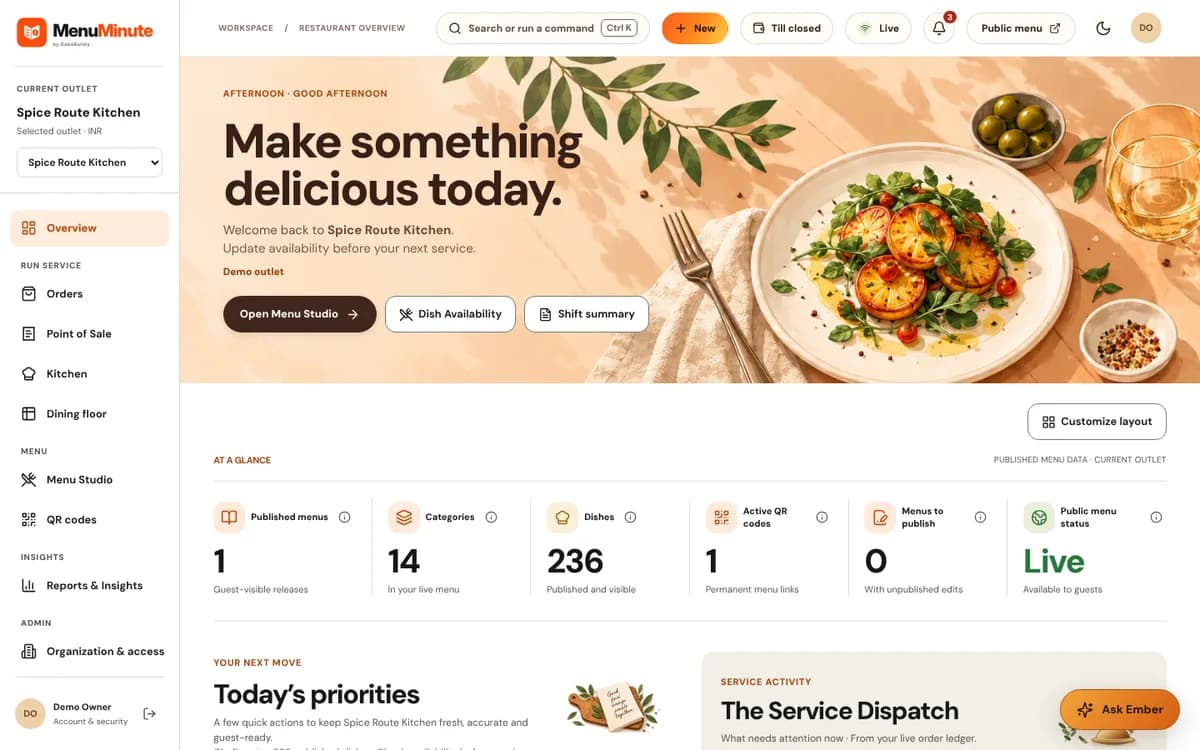
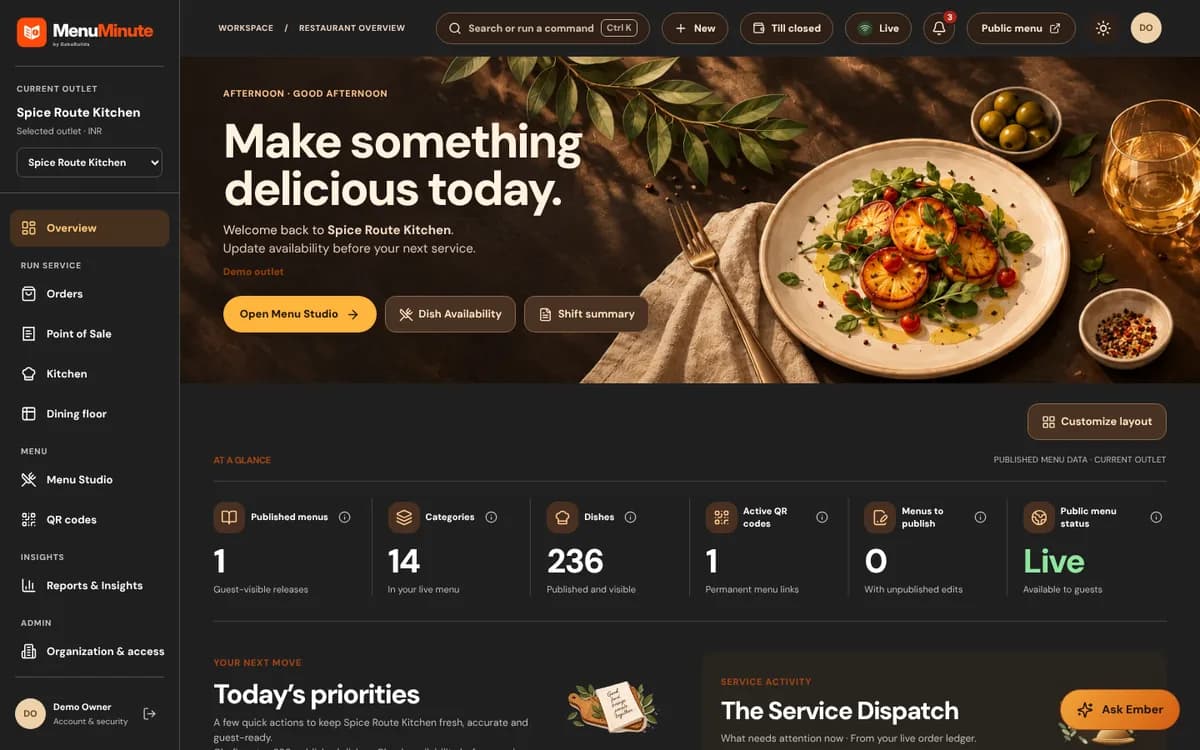
The MenuMinute dashboard is designed to be calm, clean, and distraction-free, especially during a packed Friday dinner rush.
On the left navigation bar, you have instant access to: Menu Studio (for drafting dishes), QR Codes (for printing table stickers), Live Orders (for tracking incoming requests), Kitchen Display (for kitchen prep staff), and Reports (for your daily shift sales).
You can press Ctrl+K at any moment to open the Command Palette and jump directly to any page in seconds.
Keyboard Shortcuts for Busy Shifts
Pressing Ctrl+K lets floor managers find orders, toggle sold-out items, or ask questions in a single keystroke.
Ready to put this guide into practice?
Jump into your MenuMinute dashboard and make changes directly.
Frequently Asked Questions
Can I run multiple restaurant locations from one account?
Yes! You can manage multiple outlets under your organization account. Each location can have its own independent menu, currency, operating hours, and staff.
Do I need special hardware to run MenuMinute?
Not at all. MenuMinute works beautifully on any modern device you already have—iPads, Android tablets, laptops, or even your smartphone.
Still have a question?
If this guide does not answer your question about Getting Started with MenuMinute in 5 Minutes, browse the common questions or ask a member of your restaurant team for help.
Related Restaurant Guides
Menu Studio: Crafting & Publishing Digital Menus
Menu Studio gives you total creative control over your dishes. Organize your items into categories, add mouthwatering photos, configure add-ons, and publish updates instantly without ever re-printing paper menus.
QR Studio & Tabletop Press: Printing Permanent QR Codes
MenuMinute's QR Studio lets you create table-specific or whole-restaurant QR codes. Customize colors, add your restaurant name, and download print-ready sheets for table tents, stickers, or acrylic standees.
AI Menu Import: Turn Paper Menus into Digital Catalogs
Save hours of typing! Upload clear pictures of your existing printed menu or a PDF design file. MenuMinute's intelligent scanner reads your categories, dishes, descriptions, and prices into a draft for you to review and approve.